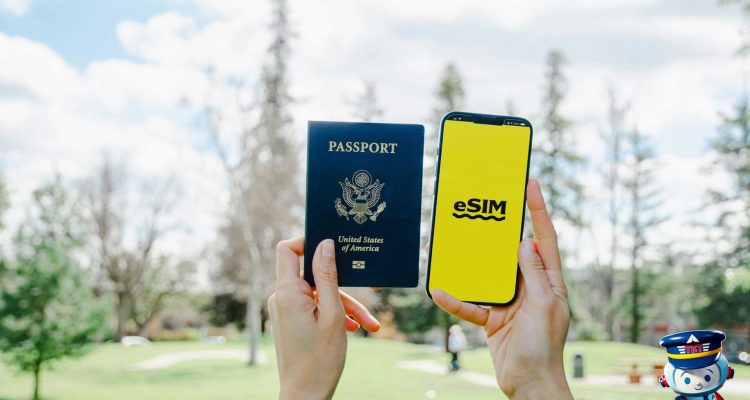
Choosing Between eSIMs and Local SIMs
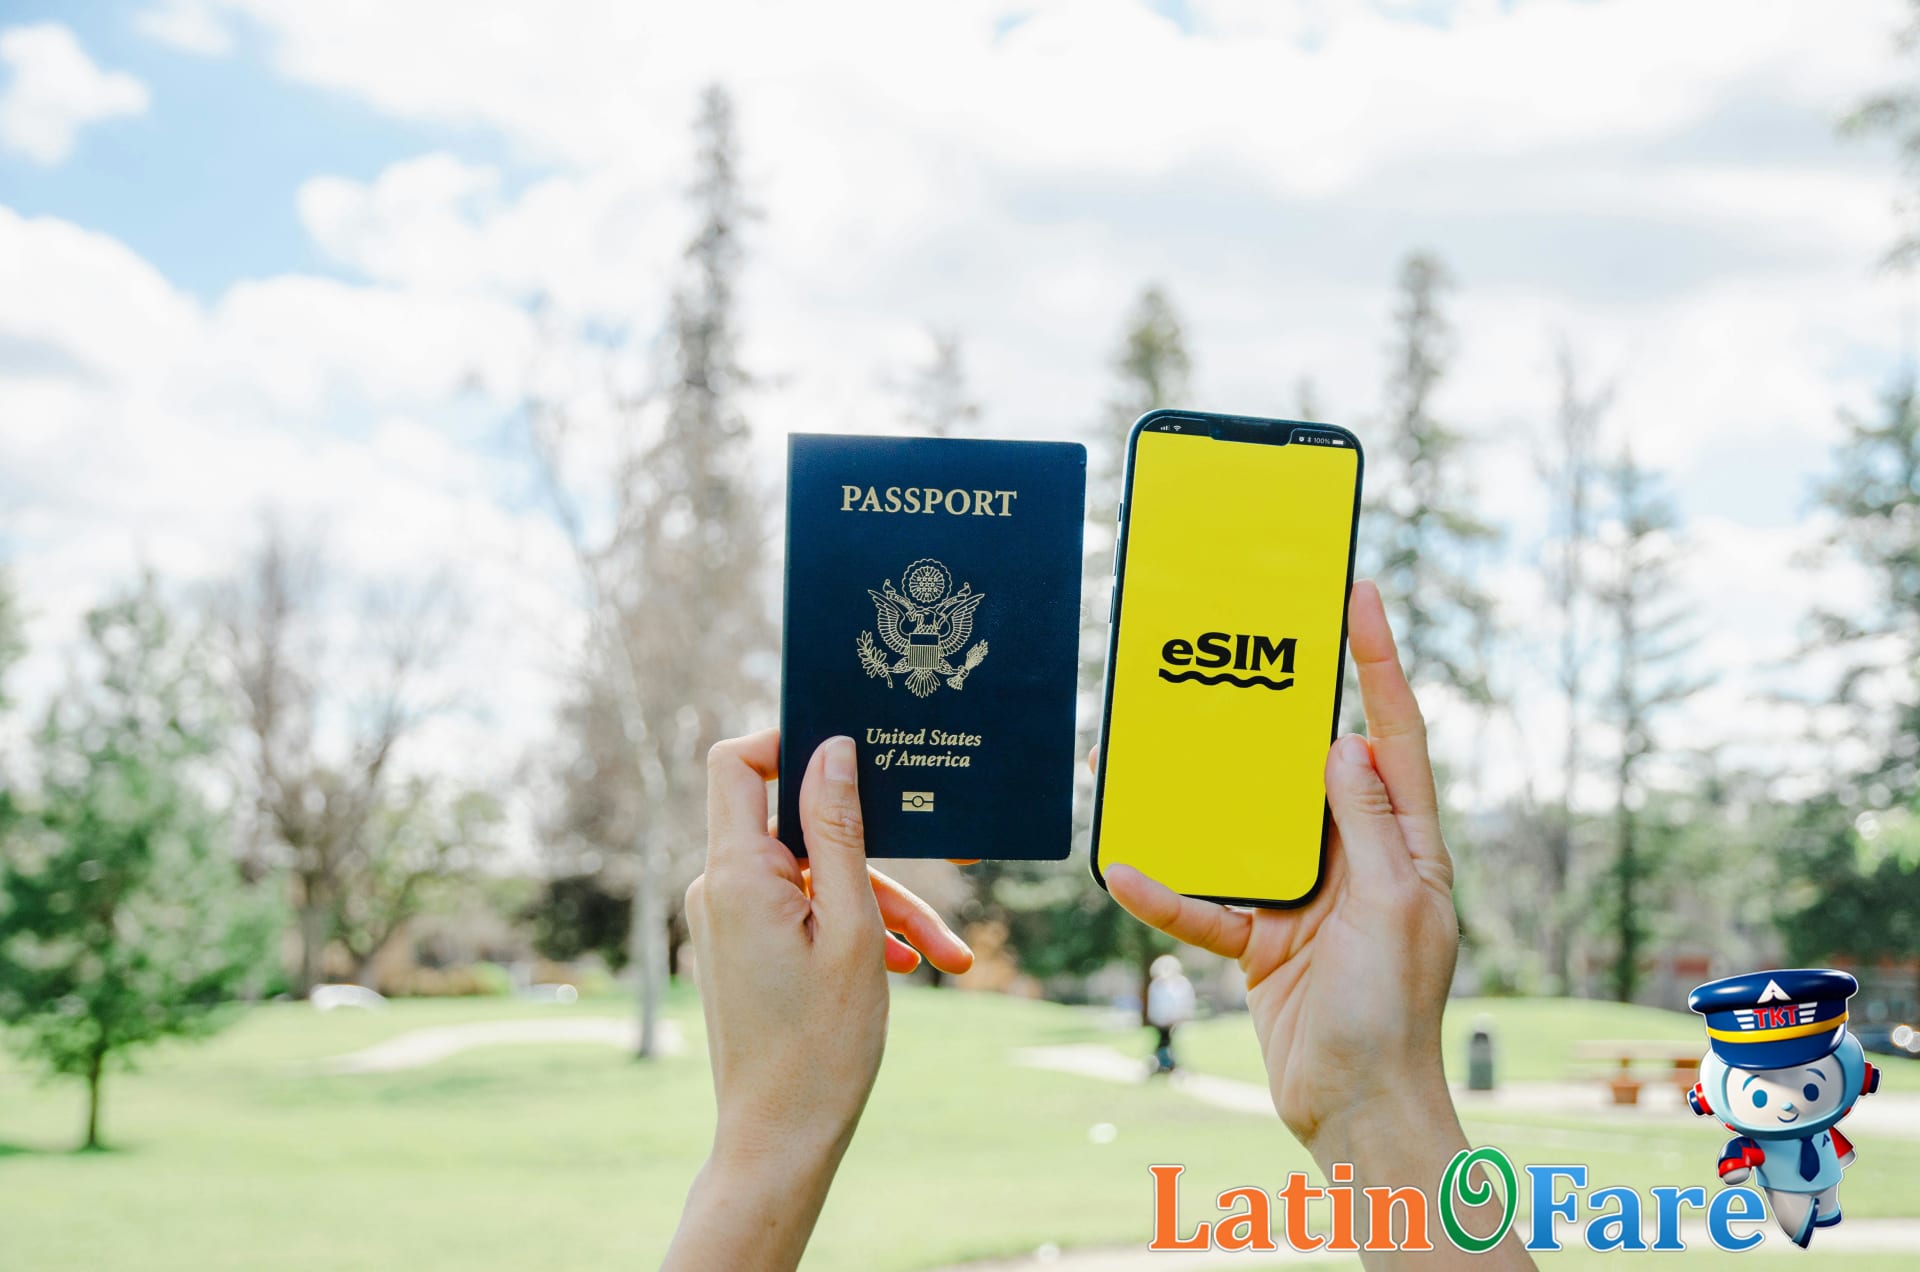
Staying connected abroad used to mean picking up a local SIM card as soon as you landed. Now, eSIM technology is changing the game for international travelers. With an eSIM, you can download a mobile plan directly onto your phone—no physical card needed. Local SIM cards, on the other hand, still require you to swap out your current SIM for a new one purchased at your destination.
This choice matters more than ever for travelers who want affordable, seamless connectivity. eSIMs are gaining ground because they let you set up service before you even leave home, and you can often switch plans or countries without changing your SIM. Local SIMs, however, sometimes offer lower rates or better data packages, especially for longer stays.
It really comes down to your priorities: Are you looking for the lowest possible cost, or do you value the flexibility and convenience of managing your plan digitally? I remember realizing just how critical device compatibility was when my older phone couldn’t use an eSIM—suddenly, my options were limited at the airport. It’s a good reminder to check your phone’s capabilities before you travel.
At latinofare.com, helping travelers save on essentials—like flights, connectivity, and avoiding hidden fees—is a big part of our mission. If you’re weighing your options, consider what matters most for your next trip: budget, flexibility, or ease of use. For more tips on travel savings, check out our guide on how to avoid hidden travel costs when booking flights and services.
What Are eSIMs and Local SIMs?
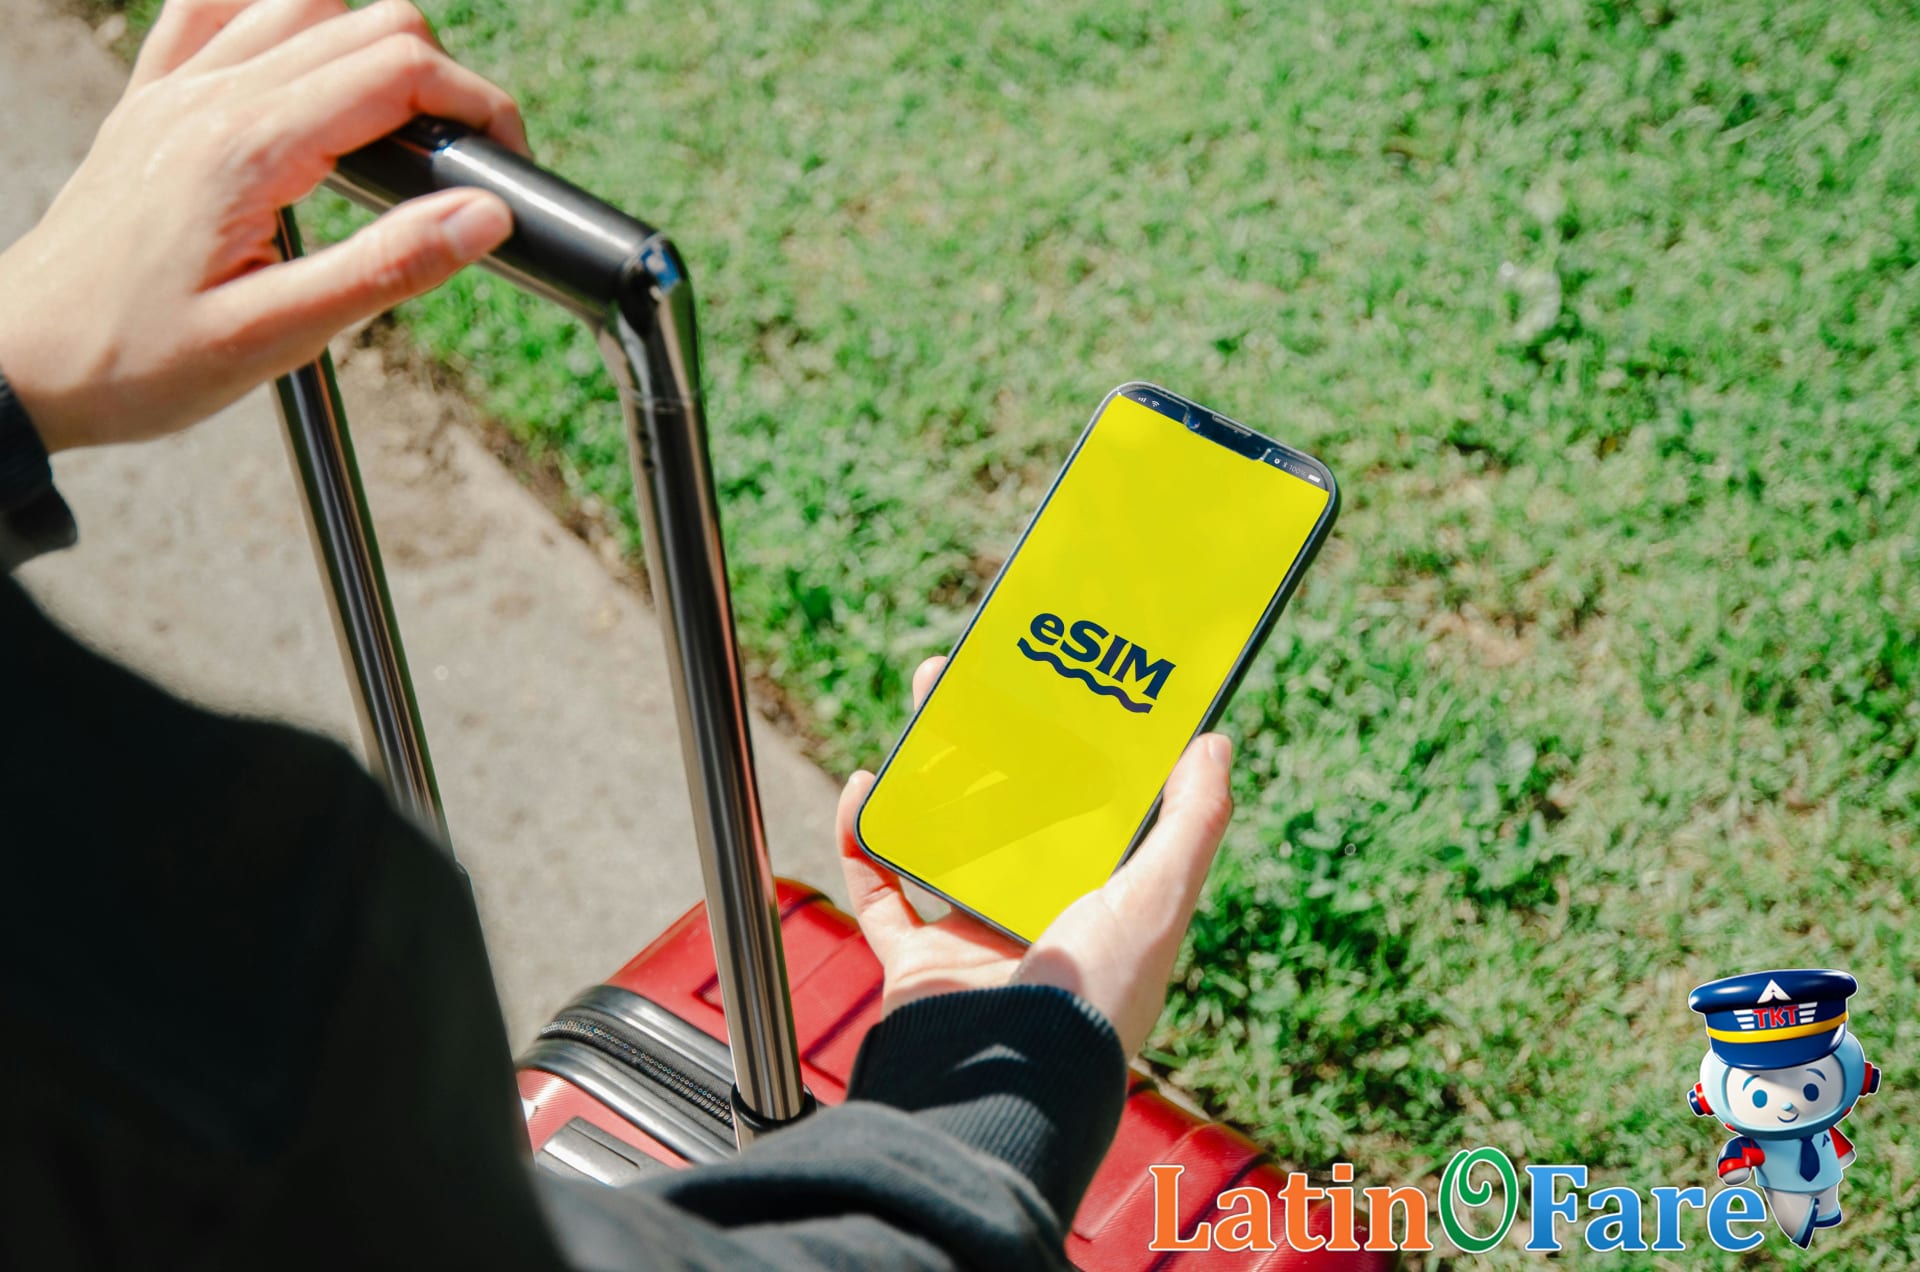
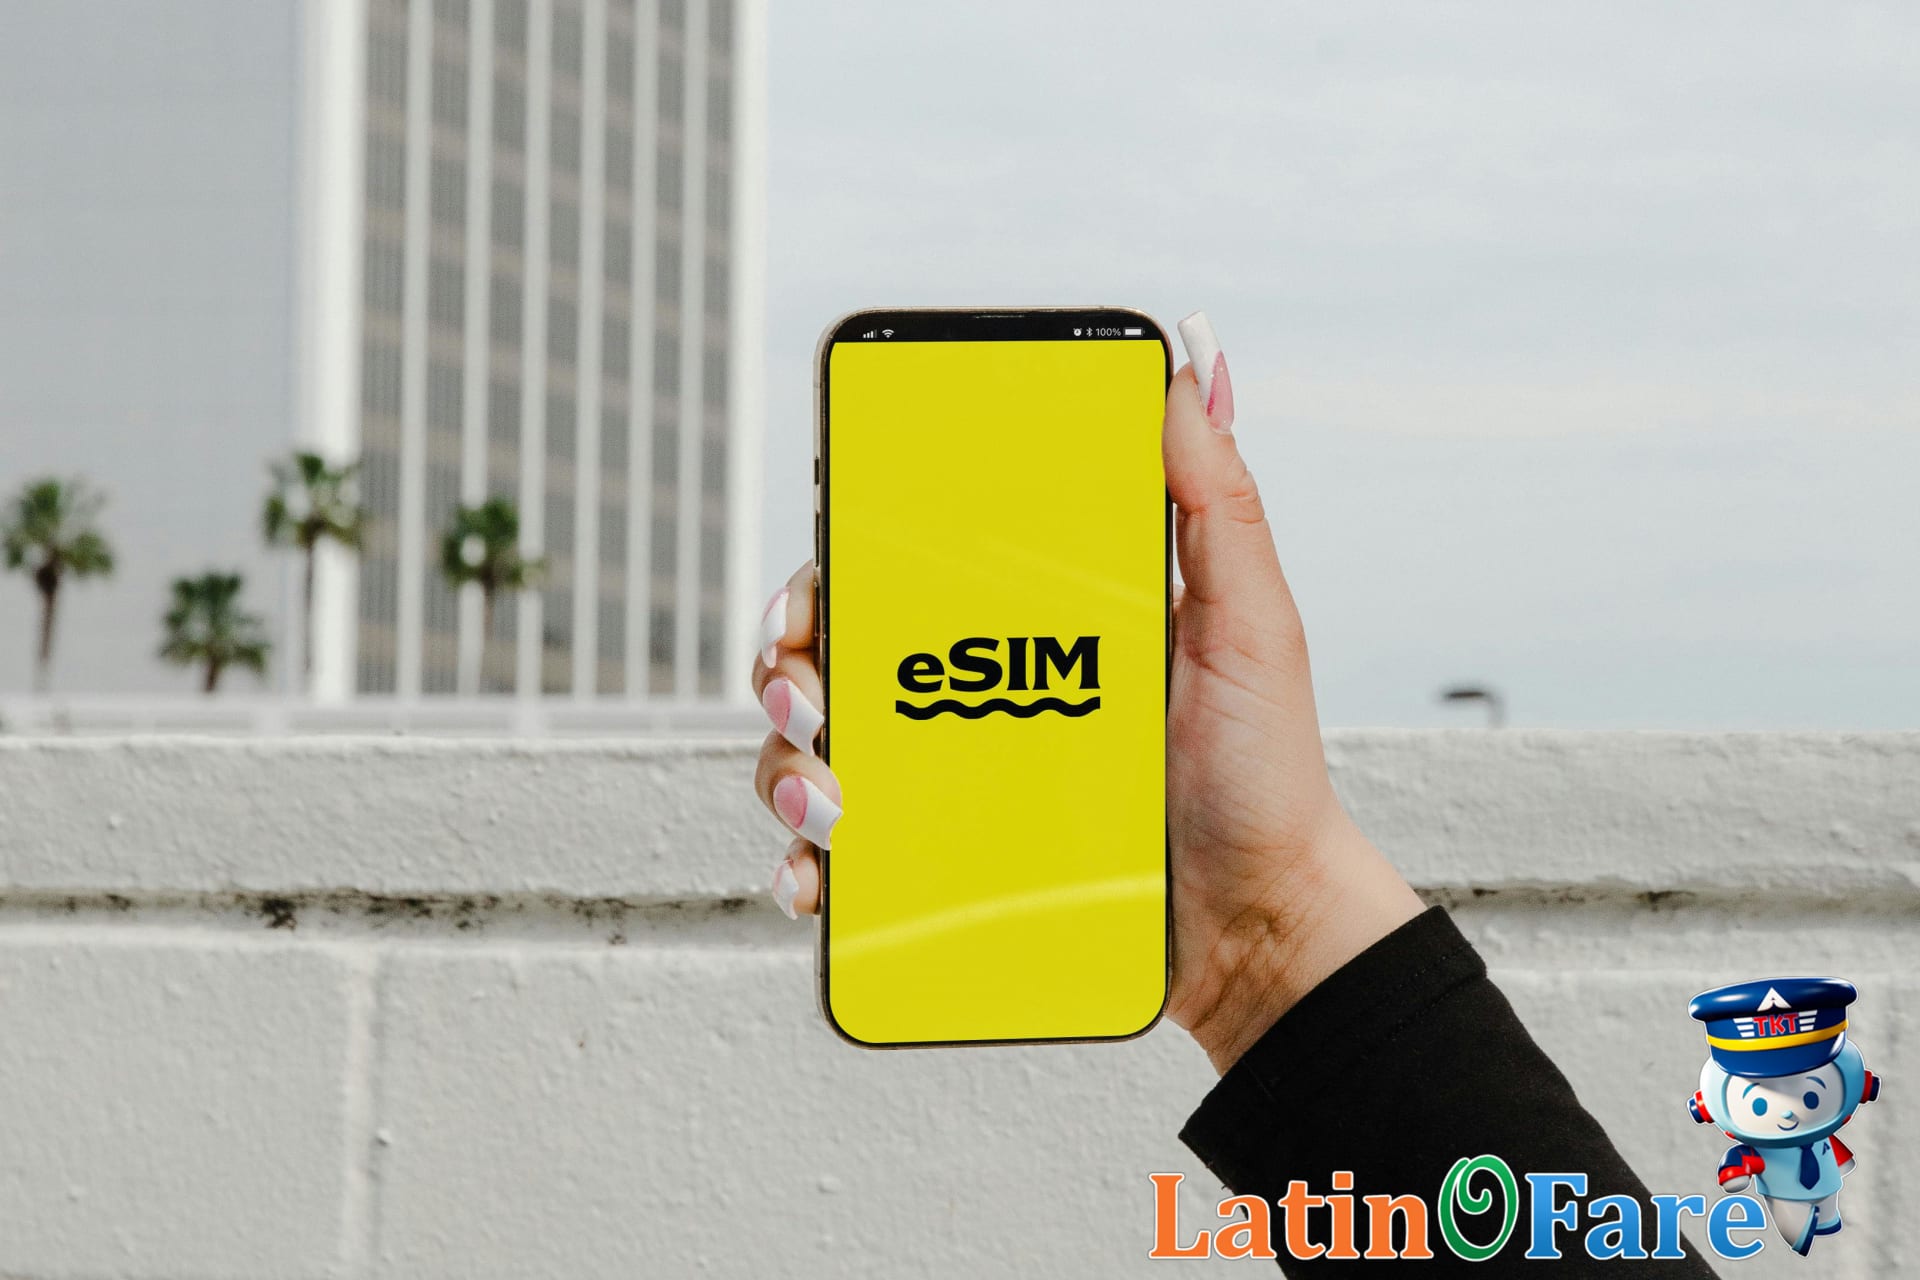
Let’s break down two options for staying connected abroad: eSIMs and local SIM cards. An eSIM (short for “embedded SIM”) is a digital version of a SIM card built directly into your phone. Instead of swapping out a tiny plastic card, you download a mobile plan using a QR code or app. I remember being genuinely surprised the first time I realized you could activate an international data plan just by scanning a code—no fiddly plastic involved.
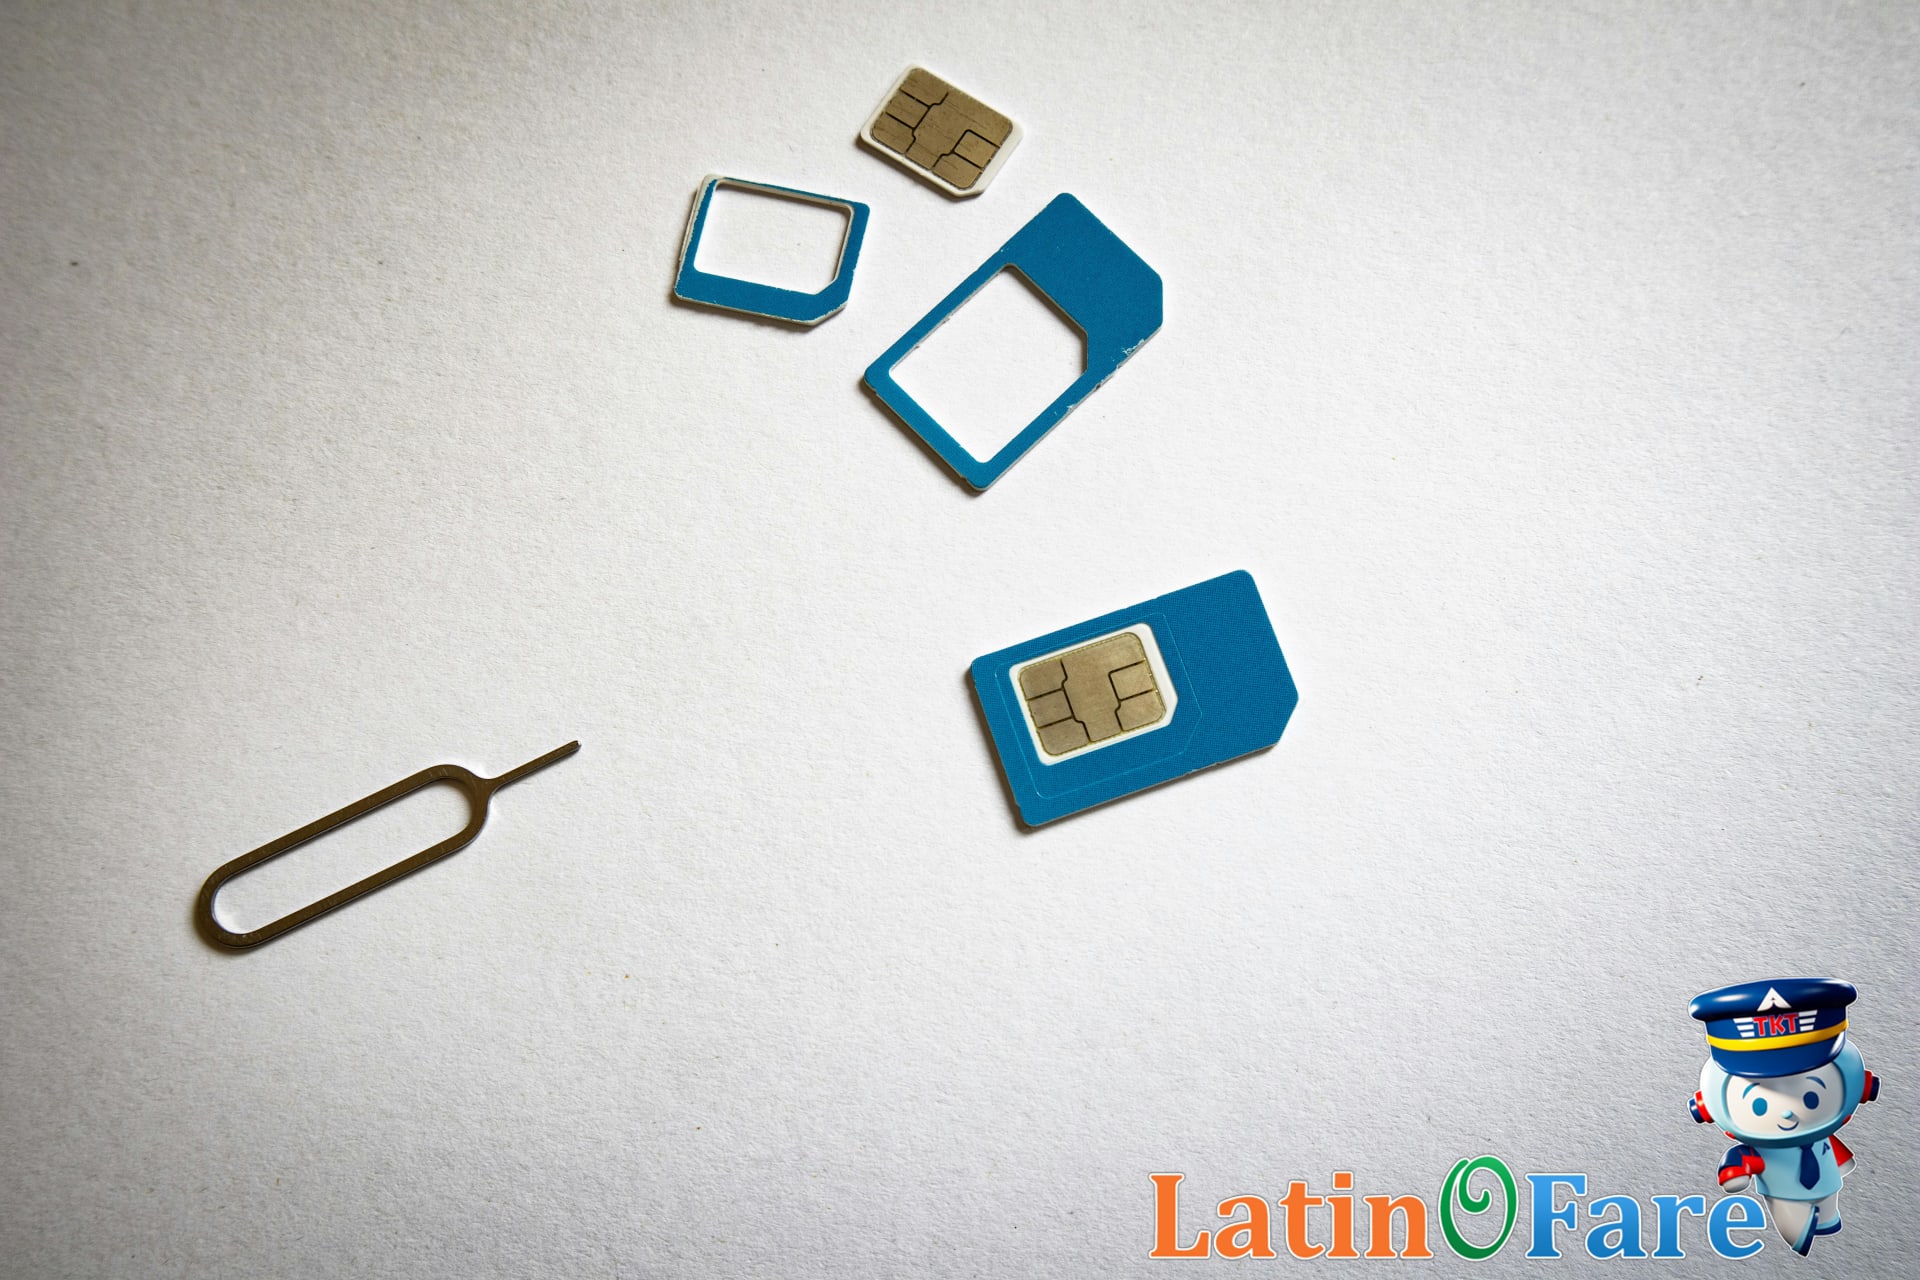
Local SIM cards, on the other hand, are the traditional physical cards you insert into your phone’s SIM slot. You’ll usually buy one at an airport kiosk or local shop, then pop it in and follow some basic activation steps. Both options let you access local data and calls, but the tech behind them is different. eSIMs use software to store your plan, while local SIMs use hardware.
There’s a catch with eSIMs: not every phone supports them. Most newer iPhones (like iPhone XR and up), recent Google Pixel models, and some Samsung devices work with eSIMs, but your phone must also be carrier-unlocked. If you’re unsure, check your device’s specs or see the manufacturer’s current list of eSIM-compatible models before you travel.
So, which should you choose? If you want to set up data before landing and your phone supports eSIM, it’s incredibly convenient—ideal for tech-savvy or frequent travelers. If your phone doesn’t support eSIM or you prefer a local number for calls, a physical SIM is still a solid choice. For more on travel tech options, check out our latinofare.com overview of digital travel tools.
Setting Up eSIMs and Local SIMs
Getting connected abroad is easier than ever, but the setup process for eSIMs and local SIM cards can still catch travelers off guard. I remember my first eSIM setup — it was surprisingly quick once I figured out where to scan the QR code, but the process wasn’t totally intuitive until I walked through each step.
Activating an eSIM Card
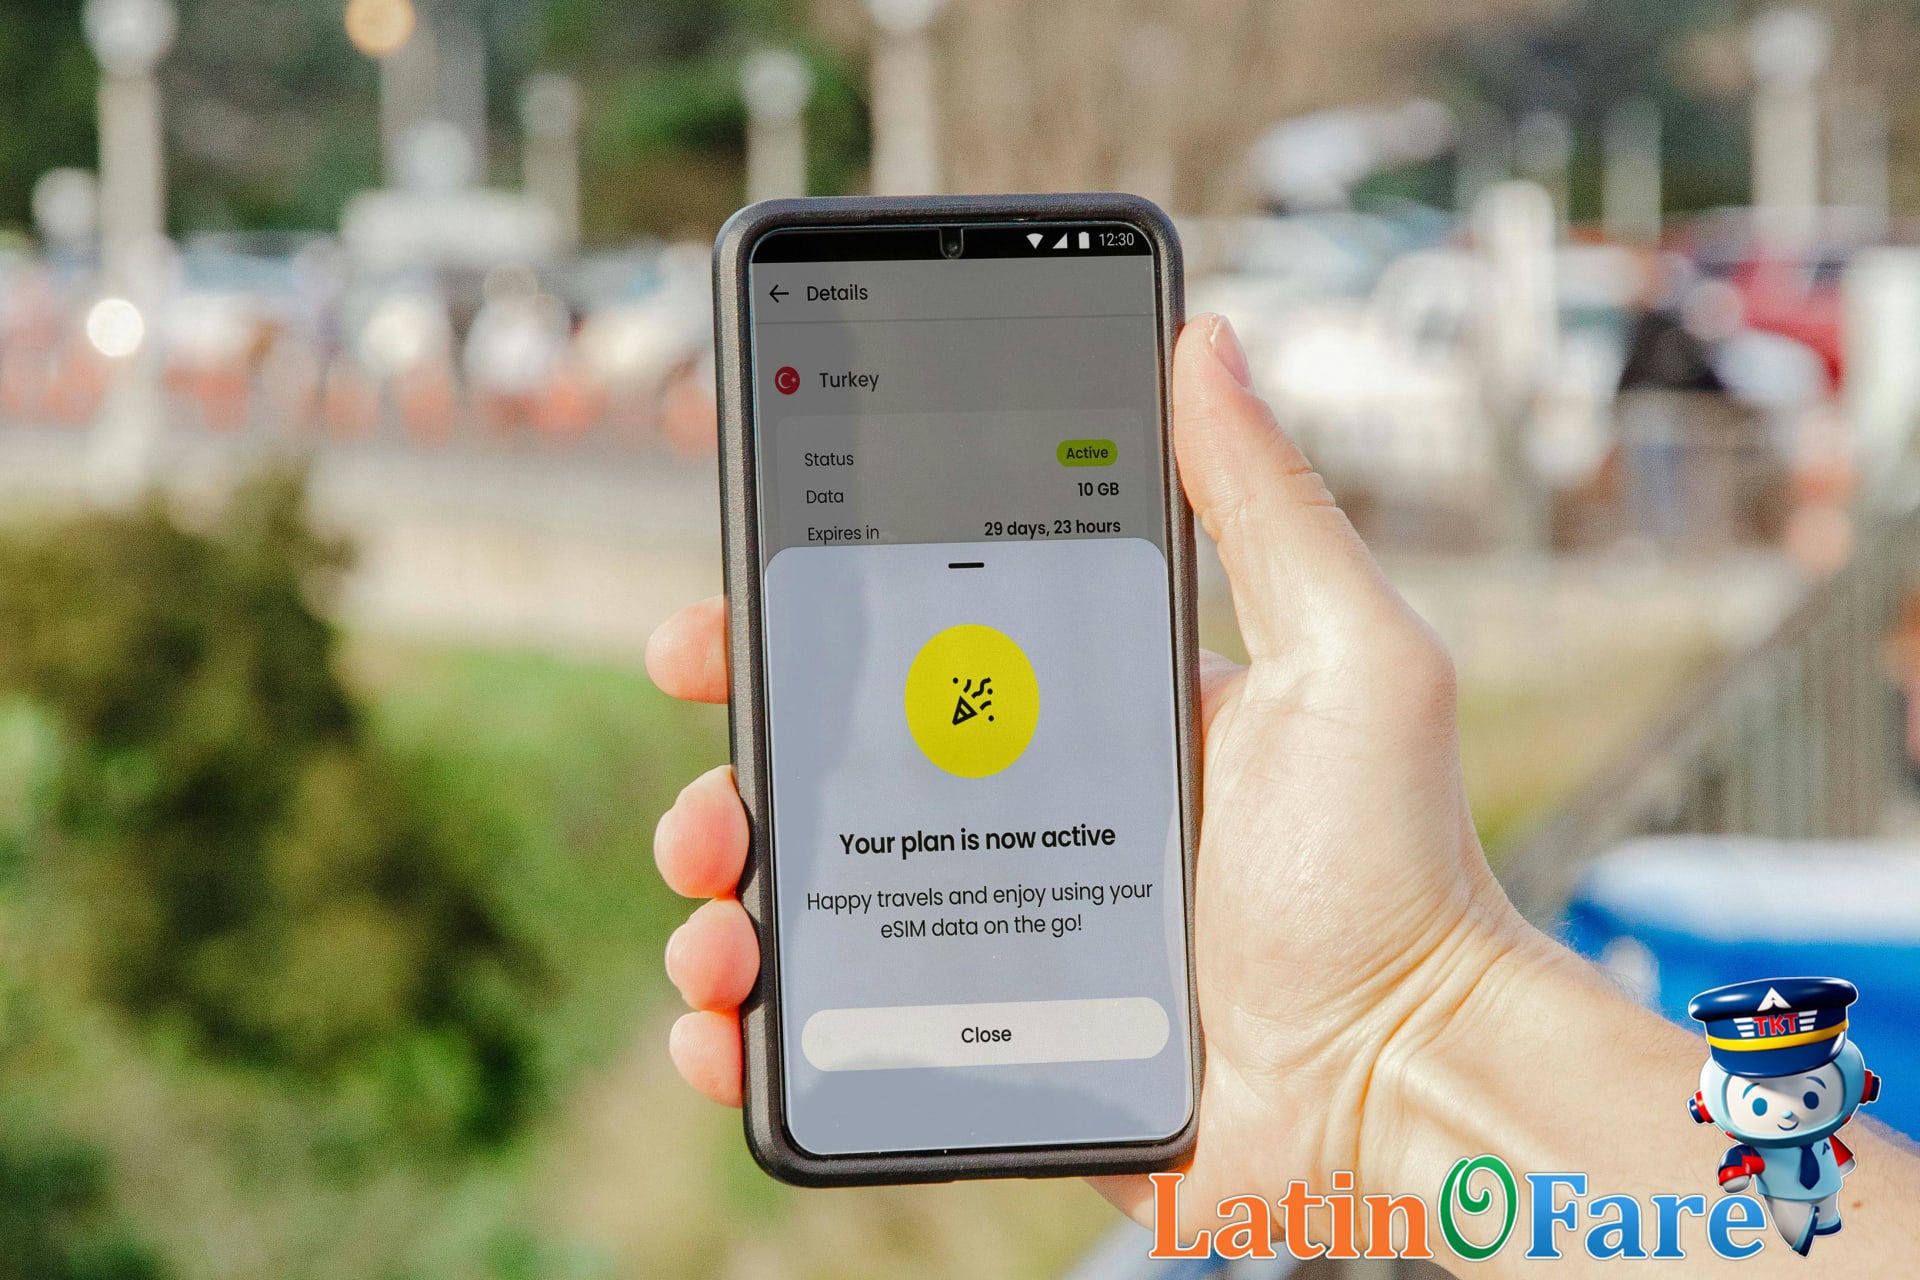
Before you depart, purchase your eSIM online and download the provider’s app while you still have Wi-Fi. At your destination, open your phone’s settings and select “Add eSIM” or “Add Cellular Plan.” Scan the QR code provided by your eSIM company, or follow the in-app instructions. Some providers require you to confirm activation through their app, so keep your login details handy. Activation is usually immediate, but sometimes it can take up to an hour, especially if your phone needs to restart or the network is busy.
Buying and Using a Local SIM
Local SIM cards are available at airport kiosks and city mobile stores. Airports offer convenience, but you’ll likely pay a bit more and face longer lines. In the city, prices are better, but staff may not speak much English and you’ll usually need your passport. Insert the SIM, restart your phone, and follow any on-screen prompts. Activation is often instant, but some carriers require a manual setup or SMS confirmation, which might delay things by 10–30 minutes. If you’re unsure about travel requirements, check latinofare.com for entry and arrival guides.
Language barriers, limited Wi-Fi, and store hours can all complicate things. If you’re arriving late, airport kiosks might be closed, so plan ahead and consider an eSIM for a smoother arrival.
Where to Buy eSIM and Local SIM Cards
If you want instant connectivity, buying an eSIM before you travel is one of the smoothest options. Reputable platforms like Airalo, Holafly, and official carrier websites let you select a plan, pay securely, and activate your eSIM within minutes—usually with clear pricing and straightforward instructions. I’ve always felt more secure buying through these online platforms, since I can check reviews and compare plans without pressure.
If you prefer a physical SIM, airports often have kiosks right after customs, and you’ll also find SIM cards at city electronics shops or mobile carrier stores. Airport kiosks are convenient if you want to get connected right away, but sometimes prices are a bit higher than what you’d find in town. City shops may offer more choices, but you’ll need to navigate language barriers and make sure you’re buying from a legitimate vendor.
Pre-purchasing an eSIM means you land ready to go, while buying a local SIM on arrival can be cheaper and offer more data. Whichever you choose, always look for clear branding, ask for documentation, and check recent reviews on sites like Trustpilot to avoid low-quality cards or potential scams. For more on protecting your payment info abroad, check out latinofare.com’s guide to safe travel payments.
Cost Comparison: eSIM Versus Local SIM
When it comes to staying connected abroad, the cost difference between eSIMs and local SIM cards can be surprising. For example, in Mexico City, I paid about $16.50 for a 5GB eSIM data plan, which was convenient but data-only. Meanwhile, a local SIM from a major carrier typically costs around $10.00 for 3GB and includes local calls and texts. In Europe, eSIMs for tourists run about $20.00 for 5GB, while local SIMs in places like Spain or France are often available for about $12.00 with similar data and basic calling included.
In Southeast Asia, the gap widens: a Thailand eSIM costs about $9.00 for 3GB, but you can pick up a local SIM at the airport for roughly $6.00—again with calls and texts bundled in. One thing to note is that most eSIMs sold to travelers are data-only, so if you need to make local calls or send texts, a physical SIM usually offers more flexibility. I usually recommend comparing both options based on your itinerary and data habits.
Don’t forget about hidden fees. Some eSIM providers tack on activation or top-up charges, and local SIMs might require a small activation fee or ID verification. Roaming charges can also sneak up if you cross borders with a local SIM. If you’re looking to stretch your travel budget even further, check out the deals page at latinofare.com for discounts on flights and packages before you go. Up next, I’ll break down typical daily costs for each option in more detail.
Coverage and Reliability Abroad

When you’re traveling, the quality of your mobile connection can make or break your plans—especially if you’re navigating new cities or rural areas. In my experience, I’ve seen a local SIM card provide strong coverage deep in the countryside, while my eSIM struggled to stay connected outside major towns. This happens because local SIMs often use the top-performing national carrier, while many eSIM providers partner with global networks that may not always prioritize rural coverage.
Before you commit, always check the coverage map for your destination. Most major carriers post detailed maps on their websites, and third-party tools like OpenSignal let you compare real-world signal reports. Reviews from other travelers can also highlight dead zones or weak spots—something I usually recommend checking before you buy.
For city breaks in places like London or Tokyo, eSIMs generally keep up well, thanks to strong urban infrastructure. But if you’re exploring remote areas in countries like Peru or South Africa, a local SIM often outperforms for both signal and reliability. Frequent travelers or those hopping between countries might prefer the flexibility of eSIM, while those staying put in one region may get better results from a local SIM.
Managing Data and Plan Flexibility
When you’re traveling, being able to check your data balance and adjust your plan is essential—especially if you rely on maps, translation apps, or video calls. With eSIMs, I’ve found it much easier to monitor my usage and top up through the provider’s app, which usually shows real-time data stats and lets you buy more data with just a few taps. Local SIM cards often require dialing USSD codes or logging into a local website, which can be trickier if you don’t speak the language or don’t have easy payment options.
For topping up, eSIMs usually support international credit cards or PayPal, so you can add data from anywhere. Local SIMs might only accept local payment methods or require a trip to a shop. If you’re moving between countries, many eSIM providers offer regional or multi-country plans—just switch plans in the app and you’re set. In contrast, using local SIM cards means buying a new SIM every time you cross a border, which can get tedious if you’re hopping between several countries in a short time.
If you’re planning a trip with lots of stops, I’d compare both local and eSIM options before you leave. And if you need flexible travel dates or routes, it’s worth looking at latinofare.com’s flexible fare tools to keep your plans adaptable.
User Experience: Pros and Cons
When it comes to the real-world experience of using eSIMs and local SIM cards, there are a few practical pros and cons for each. Here’s how they stack up from a traveler’s perspective:
- Access & Setup: eSIMs let you activate service digitally, often before you even land. Local SIMs require finding a shop, showing ID, and physically swapping cards.
- Physical Swap: eSIMs eliminate the need to poke around your phone with a SIM tool. With physical SIMs, I’ve definitely fumbled with tiny trays in airport lounges—never a highlight of my trip.
- Loss & Storage: With eSIM, there’s no risk of losing your home SIM, but with a local SIM, you need to keep your original SIM somewhere safe (and remember where you put it).
- Tech Hiccups: eSIM activation can fail if your phone isn’t compatible or if there’s a QR code issue. I once had to restart my phone three times in a hotel lobby before the eSIM finally worked.
- Customer Support: Local SIM shops usually offer in-person help—helpful if you’re struggling with setup or language barriers. eSIM providers may only offer online or app-based support, which can be tricky if you’re already having connectivity issues.
- Language & Local Support: Physical SIMs can be easier if you want immediate local support, but you’ll need to navigate local language and sometimes long lines.
- Multiple SIMs: If you travel often, eSIM lets you keep several plans on your phone, while physical SIM users end up juggling cards and tiny envelopes.
Overall, eSIM is notably easier for quick, tech-savvy travelers or those who want to avoid shops. A local SIM may still be the better bet if you value in-person help or your device doesn’t support eSIM.
Budget Table: SIM vs eSIM Costs
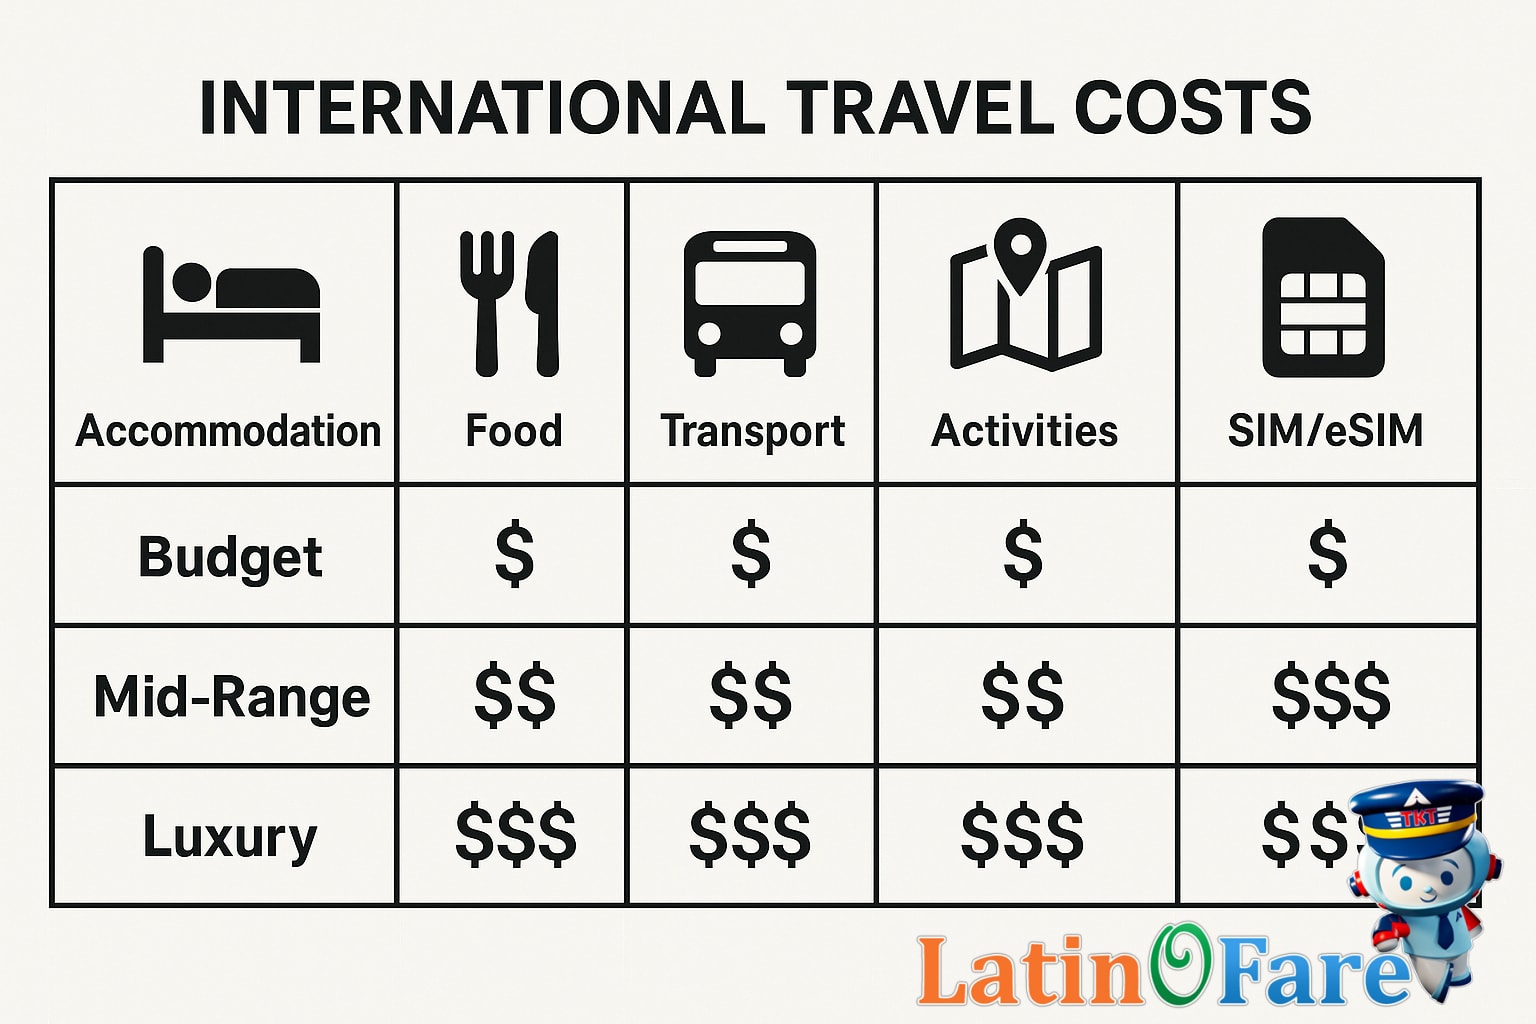
| Accommodation | Food | Transport | Activities | SIM/eSIM | |
|---|---|---|---|---|---|
| Budget | $30.00 | $15.00 | $10.00 | $12.00 | $10.00 |
| Mid-range | $80.00 | $35.00 | $25.00 | $40.00 | $28.00 |
| Luxury | $200.00 | $70.00 | $60.00 | $100.00 | $45.00 |
SIM and eSIM costs can be a small part of your daily travel budget, but they do fluctuate depending on where you’re traveling and which provider you choose. When I’ve compared my own trip expenses, the SIM or eSIM rarely made a big dent compared to things like hotels or activities, but it’s still worth planning for.
Frequently Asked Questions: eSIM vs Local SIM
- How do I know if my phone supports eSIM for international travel?
Most newer smartphones support eSIM, but not all models do. You’ll want to check your device settings or the manufacturer’s website for confirmation. For example, iPhones from the XR onward and many recent Androids offer eSIM compatibility. If in doubt, ask your carrier before you leave.
- What’s the process for activating an eSIM abroad?
Typically, you purchase an eSIM plan online, scan a QR code, and follow prompts to install the profile. Activation is usually immediate, but you’ll need Wi-Fi for setup. I usually recommend setting up your eSIM before you land to avoid airport Wi-Fi hassles or delays.
- Is an eSIM safer than a local SIM card?
Both options are generally secure, but eSIMs can’t be physically removed if your phone is lost or stolen. This can help protect your information. With a local SIM, someone could take your card out. Always use phone security features like PIN codes or biometric locks for extra safety.
- What should I do if I lose my local SIM or eSIM while traveling?
If you lose a physical SIM, visit a local provider’s shop with your ID to request a replacement. For a lost eSIM, contact your eSIM provider online—they can usually resend the QR code or activate a new profile. Back up important contacts and info before your trip, just in case.
- Which is better: eSIM vs local SIM for international travel?
For short trips or hopping between countries, I’d go with an eSIM for its convenience—no need to swap cards. But if you’re staying in one country for a while, a local SIM often offers better rates and local support. Your choice depends on your travel style and device compatibility.
- Can I switch between eSIM and local SIM while traveling?
Yes, most dual-SIM phones let you use both at once, or switch between them in your settings. This is handy if you want to keep your home number active while using local data. Just remember to manage roaming settings to avoid unexpected charges during your trip.
- How does eSIM vs local SIM for international travel affect data speeds and reliability?
Both options usually offer similar speeds, since they connect to the same local networks. However, some eSIM providers may use roaming agreements, which could affect performance in rural areas. For the most reliable connection, I’d compare providers and read recent traveler reviews for your destination.
Choosing the Right SIM for Your Trip
Picking the best SIM or eSIM depends a lot on your travel style. Solo travelers usually want something quick and easy, while families may need a plan that covers multiple devices. Frequent flyers often benefit from flexible, multi-country options, and tech-savvy travelers might prefer eSIMs for convenience. I usually start by checking if my phone supports eSIM and then compare local and international SIM deals based on my destination and how much data I’ll actually use.
Think about your device compatibility, where you’re headed, how much support you want, and your budget. Before you finalize your travel bookings, it’s smart to review the available SIM options—sometimes the best deals are only visible if you look early. If you want more practical tips, I’d recommend checking out the airport navigation and pre-departure checklist articles on the latinofare.com blog for extra guidance.